General
A popular method used to install QFP's and other fine-pitch surface mounted components is called MiniWave® or Drag soldering. MiniWave tips feature a concave, spoon-shaped end that acts as a solder reservoir, allowing you to drag a bead of solder across multiple leads at once. MiniWave tips act as a miniature wave-soldering machine (hence the name), allowing you to swiftly solder an entire row of pins at one time.
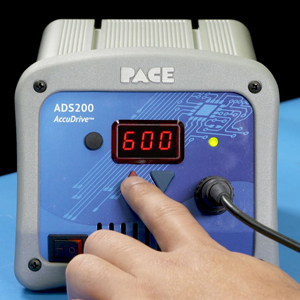
- Start with a low tip temperature of 600°F (316°C) for leaded solders, 650°F (343°C) for lead-free alloys. Change temperature up or down as necessary. (see Figure 1)
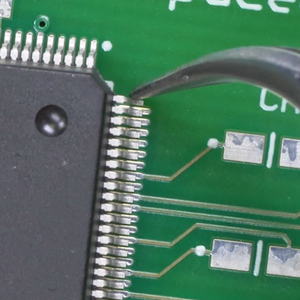
- Install selected MiniWave Tip into soldering iron. (Figure 2)
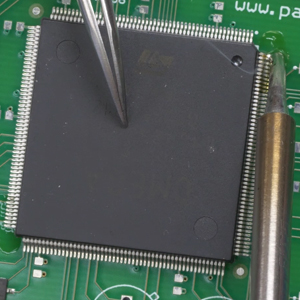
- Position the component ensuring proper lead-to-land alignment while holding the component in place using tweezers. Perfect alignment of the leads to the lands is essential to this technique. Misalignment of even 1/4 of a pad may result in bridging. (Figure 3)
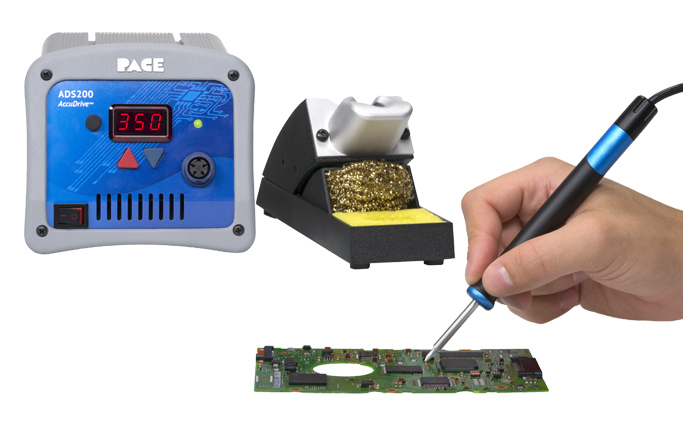
- Apply liquid or gel flux and tack solder opposing corner leads. (Figure 4)
- After tacking, apply flux to the remaining land/lead areas.
- Clean the tip on a damp (not wet) sponge if using leaded solder, or use brass wool cleaner for lead-free solder.
- Apply to the cupped portion of the tip to create a convex bead of molten solder.
- Starting with an untacked corner, position the MiniWave tip so that the solder bead contacts the top portion of the leads.
- Slowly move the tip over one row of leads to form proper solder fillets at each joint. The "cup" of the MiniWave tip should be flat against the foot of the leads. Avoid downward pressure on the leads while moving the tip across - only the solder bead needs to touch the leads, not the tip itself.
- Repeat the steps for the remaining 3 sides.
- If you generate a solder bridge, apply flux to the affected joints, wipe the MiniWave tip clean, and gently touch the cleaned tip to the bridged joints. The excess solder should wick onto the clean tip, and the bridge will be gone. A vacuum Solder Extractor or wicking braid can also be used.
- Re-tin the MiniWave tip with solder and return the soldering iron to the Tool Stand.
- Clean the component with appropriate solvent/cleaner and inspect.
Caption
Fig 1. Start with low temperature

Caption
Fig 2. Install MiniWave Tip
Caption
Fig 3. Position component & align
Caption
Fig 4. Tack solder opposite corners
Equipment
Materials

Approved liquid or gel flux
Cored 63/37 tin-lead solder wire or lead-free solder wire
Curved Fine Tweezers
Approved cleaner/solvent